Drag the slider to adjust text size.
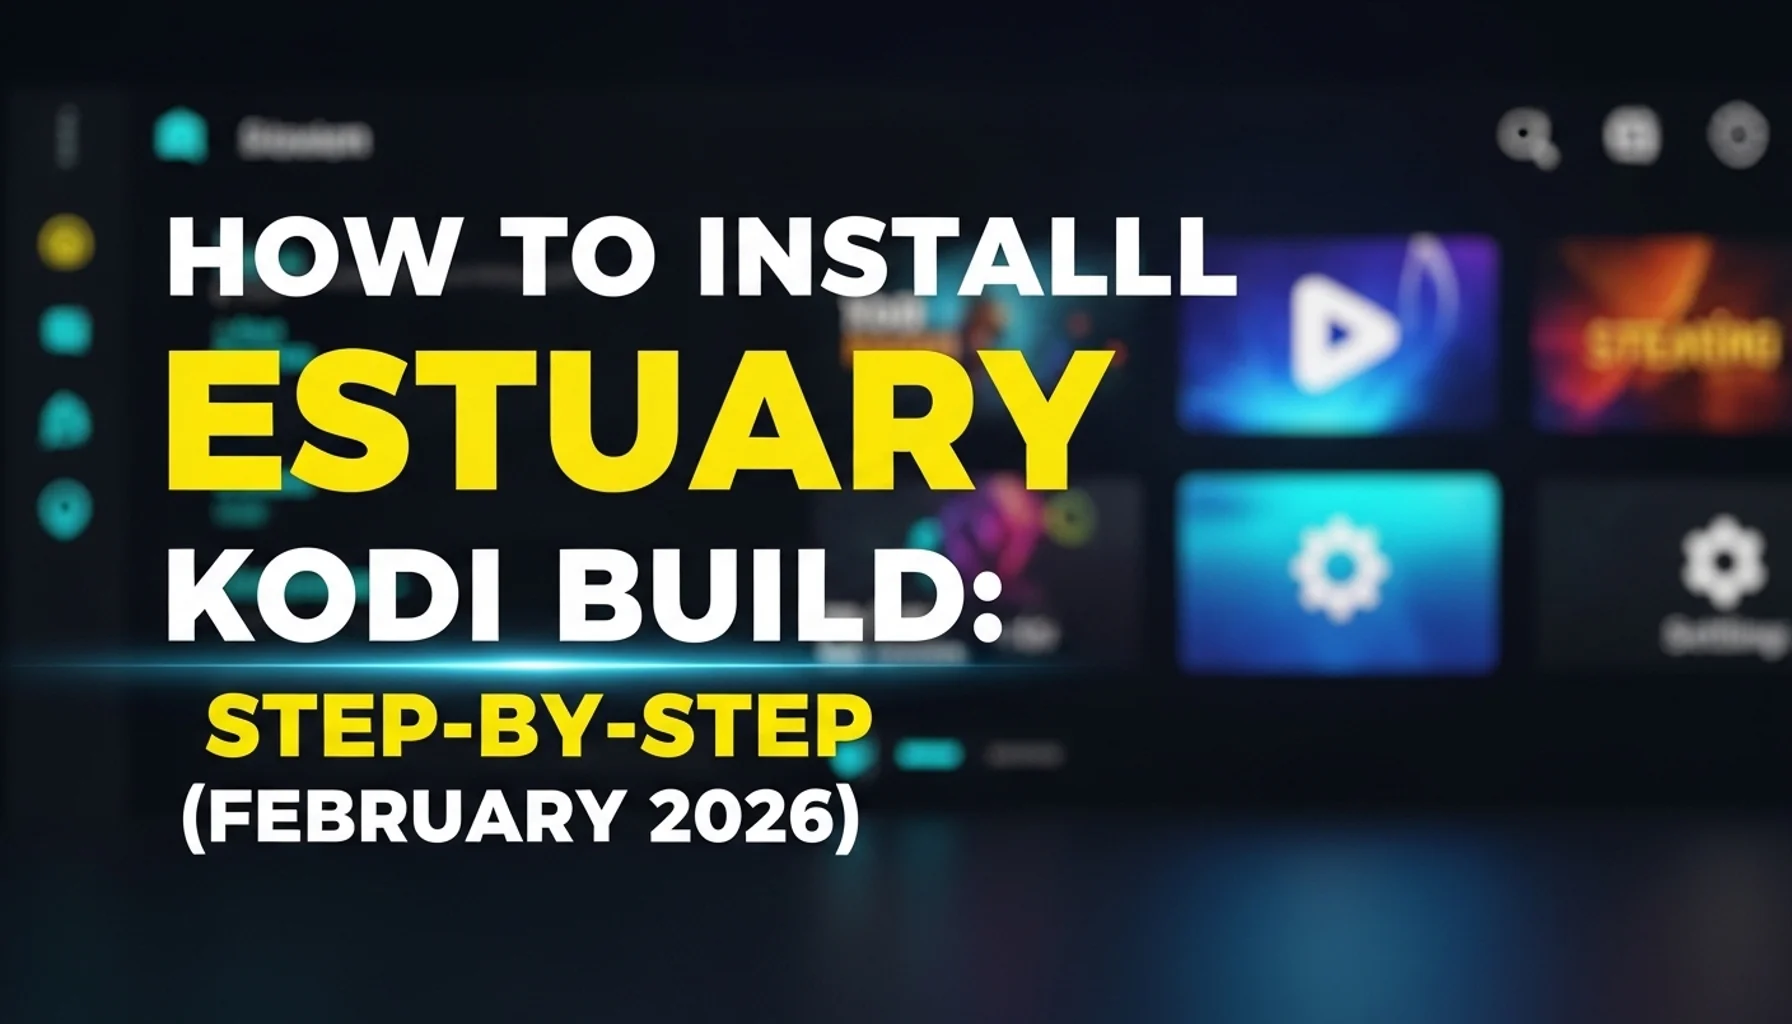
The Estuary Kodi Build has become one of the most popular custom builds for Kodi users seeking a streamlined media center experience. This comprehensive guide walks you through the installation process step-by-step, ensuring you can set up this powerful build regardless of your technical expertise.
🔒 Protect Your Kodi Streaming
Avoid ISP tracking and stream Kodi safely using one of the fastest and most trusted VPN services.
✔ Works with Kodi & Firestick
✔ No Logs Privacy Protection
✔ 30-Day Money Back Guarantee
Recommended for safe and private Kodi streaming
What is the Estuary Kodi Build?
The Estuary Kodi Build transforms the standard Kodi interface into a feature-rich media center with pre-configured add-ons, skins, and settings. Unlike the default Estuary skin, this build includes curated content libraries, popular streaming add-ons, and optimized performance settings that enhance your viewing experience right out of the gate.
Prerequisites Before Installation
Before diving into the installation process, ensure you have the following ready:
• A stable internet connection
• Kodi installed on your device (Windows, Mac, Android, or Firestick)
• Sufficient storage space (at least 500MB free)
• Backup of your current Kodi settings (optional but recommended)
Important security note: Always use a VPN when installing third-party builds to protect your privacy and maintain anonymous browsing.
Step 1: Enable Unknown Sources
Kodi blocks installations from unknown sources by default for security reasons. You’ll need to enable this option:
- Open Kodi and click the gear icon to access Settings
- Select “System” or “System Settings”
- Navigate to “Add-ons” in the left menu
- Toggle “Unknown Sources” to ON
- Confirm the warning message by selecting “Yes”
Step 2: Install the Estuary Repository
The Estuary Kodi Build requires its dedicated repository for installation:
⚠️ WARNING: Before installing this Kodi addon, it is strongly recommended to use a VPN to protect your privacy while streaming.
👉 Get 76% NordVPN Deal- Return to Kodi Settings
- Click “File Manager”
- Select “Add Source” on the left panel
- Click “None” and enter the repository URL:
https://tinyurl.com/diggz123 - Name the source “Estuary” and click OK
- Go back to the home screen and select “Add-ons”
- Click the package icon (top-left corner)
- Choose “Install from zip file”
- Select “Estuary” and then the latest repository file (usually named
repository.estuary.zip) - Wait for the “Add-on installed” notification
Step 3: Install the Estuary Kodi Build
Now that the repository is installed, you can proceed with the build installation:
- From the Add-ons menu, click “Install from repository”
- Select “Estuary Builds Repository”
- Navigate to “Program add-ons”
- Find and click “Estuary Build Wizard”
- Click “Install” and wait for the installation to complete
- Once installed, open the Estuary Build Wizard from your add-ons
- Select “Build Menu” from the main options
- Choose the latest Estuary Build version
- Click “Fresh Install” (recommended for first-time users)
- Confirm your selection and wait for the installation to complete
The installation process may take 5-10 minutes depending on your internet speed and device performance.
Step 4: Configure Your Estuary Build
After installation, you’ll need to perform some initial setup:
- When prompted, select “Yes” to start using the Estuary Build
- Allow Kodi to close and restart automatically
- The first launch may take longer as the build initializes
- Navigate through the main menu to explore the pre-installed add-ons
- Configure your media sources in the “Files” section under Settings
Troubleshooting Common Installation Issues
Even with careful following of instructions, you might encounter some challenges. Here are solutions to common problems:
• Build won’t install: Clear Kodi cache through maintenance tools, then retry
• Add-ons not working: Check your internet connection and VPN status
• Build crashes on startup: Perform a fresh installation instead of updating
• Missing media content: Verify your source links are correctly configured
Optimizing Your Estuary Kodi Build Performance
To get the best experience from your newly installed build:
- Regular maintenance: Use the built-in maintenance tools weekly
- Update add-ons: Check for updates monthly to ensure all components work properly
- Clear cache: Remove temporary files to improve loading speeds
- Adjust streaming quality: Match settings to your internet bandwidth
- Organize favorites: Customize the build to match your viewing preferences
Best Add-ons Included in Estuary Build
The Estuary Kodi Build comes packed with several popular add-ons:
• Seren: Premium debrid integration for high-quality streaming
• The Crew: All-in-one entertainment add-on
• YouTube: Official YouTube integration
• Plex: Access your Plex media server
• Trakt: Sync your watch history across devices
Safety and Legal Considerations
When using the Estuary Kodi Build or any third-party Kodi customization:
• Use a reliable VPN service to protect your online activity
• Avoid pirated content and stick to legal streaming sources
• Keep your build updated to patch security vulnerabilities
• Backup your data regularly to prevent loss during updates
Conclusion
Installing the Estuary Kodi Build transforms your standard Kodi installation into a comprehensive media center with minimal effort. By following this step-by-step guide, you can enjoy a feature-rich streaming experience with access to numerous add-ons and optimized settings. Remember to maintain your build regularly and always prioritize your online security when streaming content.
The Estuary Kodi Build continues to evolve with each update, bringing new features and improvements to enhance your media consumption experience. Whether you’re a Kodi novice or experienced user, this build offers an accessible yet powerful solution for all your entertainment needs.
Have you installed the Estuary Kodi Build? Share your experience in the comments below, and don’t forget to bookmark this guide for future reference when updating your build!